[shortlink url=”http://tinyurl.com/msd4o8v” title=”Continued From V8 Tesla Engine”]
After playing with the V8 Tesla engine I realised that I could build a stand on tesla coil. The lack of mains power could make this “fairly” safe.
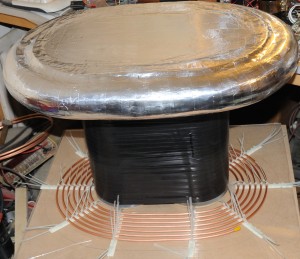
So I started with a topload that was big enough and strong enough to stand on. I started with a pair of 110mm PVC tubes and joined them together. The thought was to make an oval tesla coil (big mistake).
After winding the secondary, by hand (1000T of 0.33mm wire ) on to the former I started to realise that there was a problem, the wire stretched slightly and started to sag between the two tubes. To give the wire some support I wound PVC tape around the coils as I completed them. This was partially successful, but as I had nothing to loose so I continued.
The Topload needed to be strong enough to
stand on too and smooth and an oval.
So I started with an MDF former of 3 oval sheets spaced to a total height of 2.5″, and an external wrap of pipe lagging to give the external shape.
Over this I added paper mache and then a covering of plaster and PVA glue to give it strength. This last layer could be sanded to smooth out the edges.
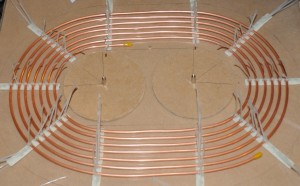 The Primary, I quickly roughed out from 50′ of 5mm break pipe held in an oval spiral with cable ties and adhesive.
The output from the V8 tesla engine is fed into a primary cap and an crude sparkgap.
Here is the coil working at the Nottingham Gaussfest.
Note that the problems with the secondary coil are starting to show with a breakout at the bottom.
But it was worth having a go at standing out the coil. After a while I found that the tuning point changed only a single turn when I was standing on the coil.
Below is a video of the first run with me on top.
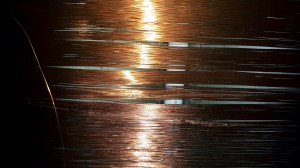
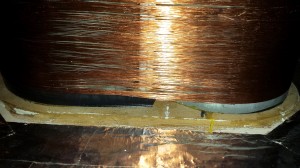
So I realised that the secondary needed to be re-built The pictures below show the damage.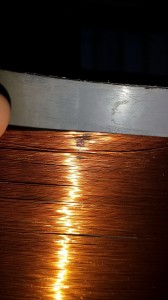
So the rebuild begins
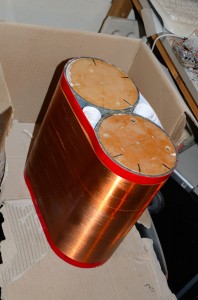
This time I’ve packed out the space with some cardboard in the void between the PVC pipes and sheets under the coil bridging the two pipes. The cardboard is held in place with many layers of adhesive craft paper that was varnished before the wire was wound on.
The finished article looks a load better then the old one, but there is still some minor ‘droopage’ between turns. So the coil was heavily varnished after winding.
Hopefully it will not suffer the same breakouts as the old.
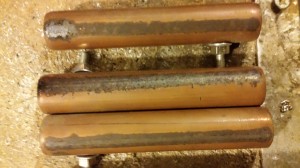
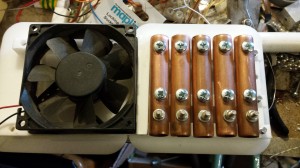
Also I decided to clean and re-mount the sparkgap the old copper pipe gaps were a little? corroded.
The Sparkgap is mounted on to a channelled acrlyic chamber that allows a high volume fan to blow air over the gaps for cooling and more importantly spark quenching.
Better results from the new coil

